
Summary: This article explains how to fix an SSD not showing up on Windows 7, 8, 10 with Bitwar Data Recovery Software.
It is a glorious moment when you have installed an SSD drive into your computer, but not very glorious when you find that your SSD is not showing up in device manager, or disk management, or anywhere. But not to worry. There are a few reasons why this happens, and the solutions for these problems are simple.
Table of Contents
5 Best Solutions to Fix SSD Not Showing Up
Solution 1: Initialize the Disk
One of the most common causes of an SSD not showing up is that is the SSD not initialized. Especially when you just bought your new SSD, there is a big chance that this is the case. Now, if your SSD not showing up on Windows 10, this is a good way to initialize your disk:
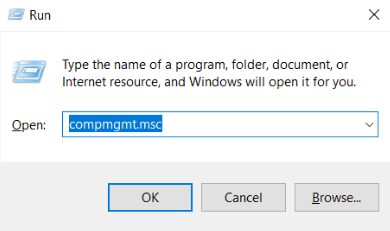
First, you need to open Computer Management. There are two ways to do this. The quickest one is pressing Win + R and typing compmgmt.msc on the window that opens.
Alternatively, you can open File Explorer, right-click This PC, and click Manage.
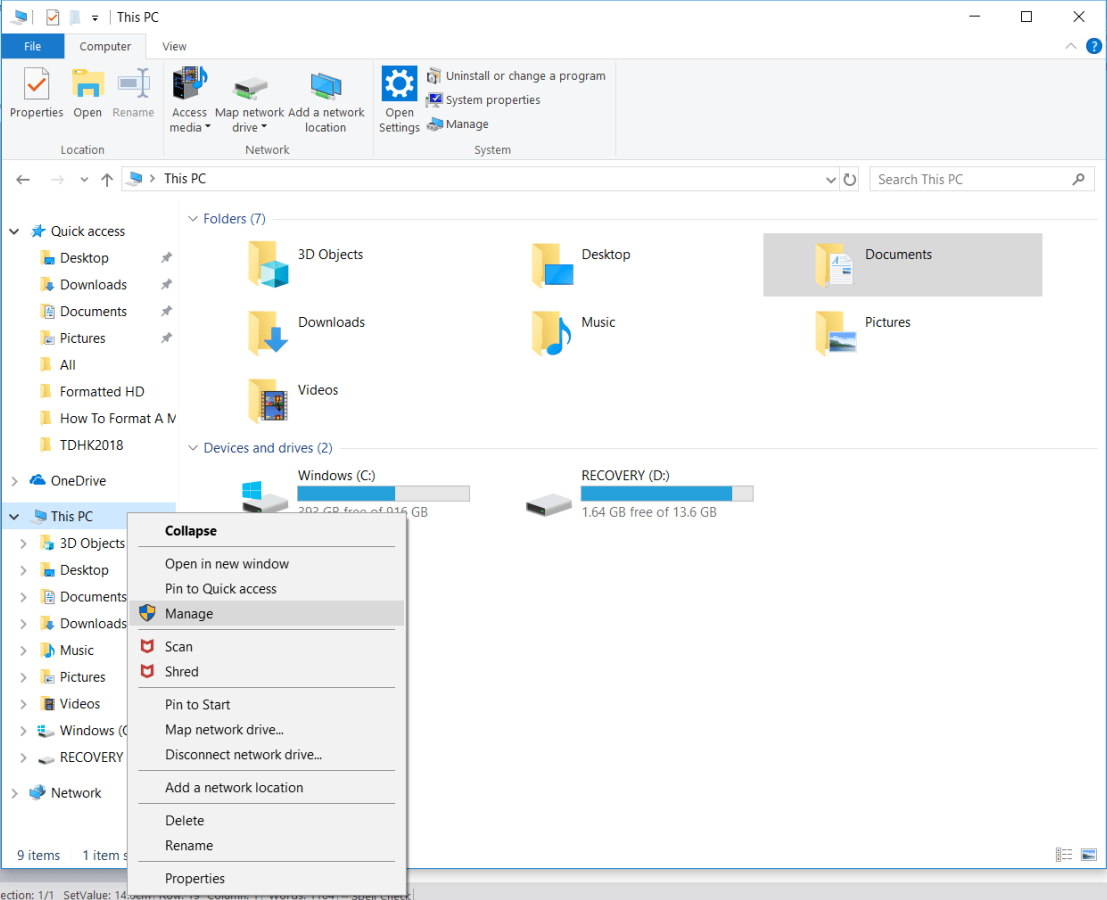
Click Disk Management on the panel to the left of the window and you can see a popup window.
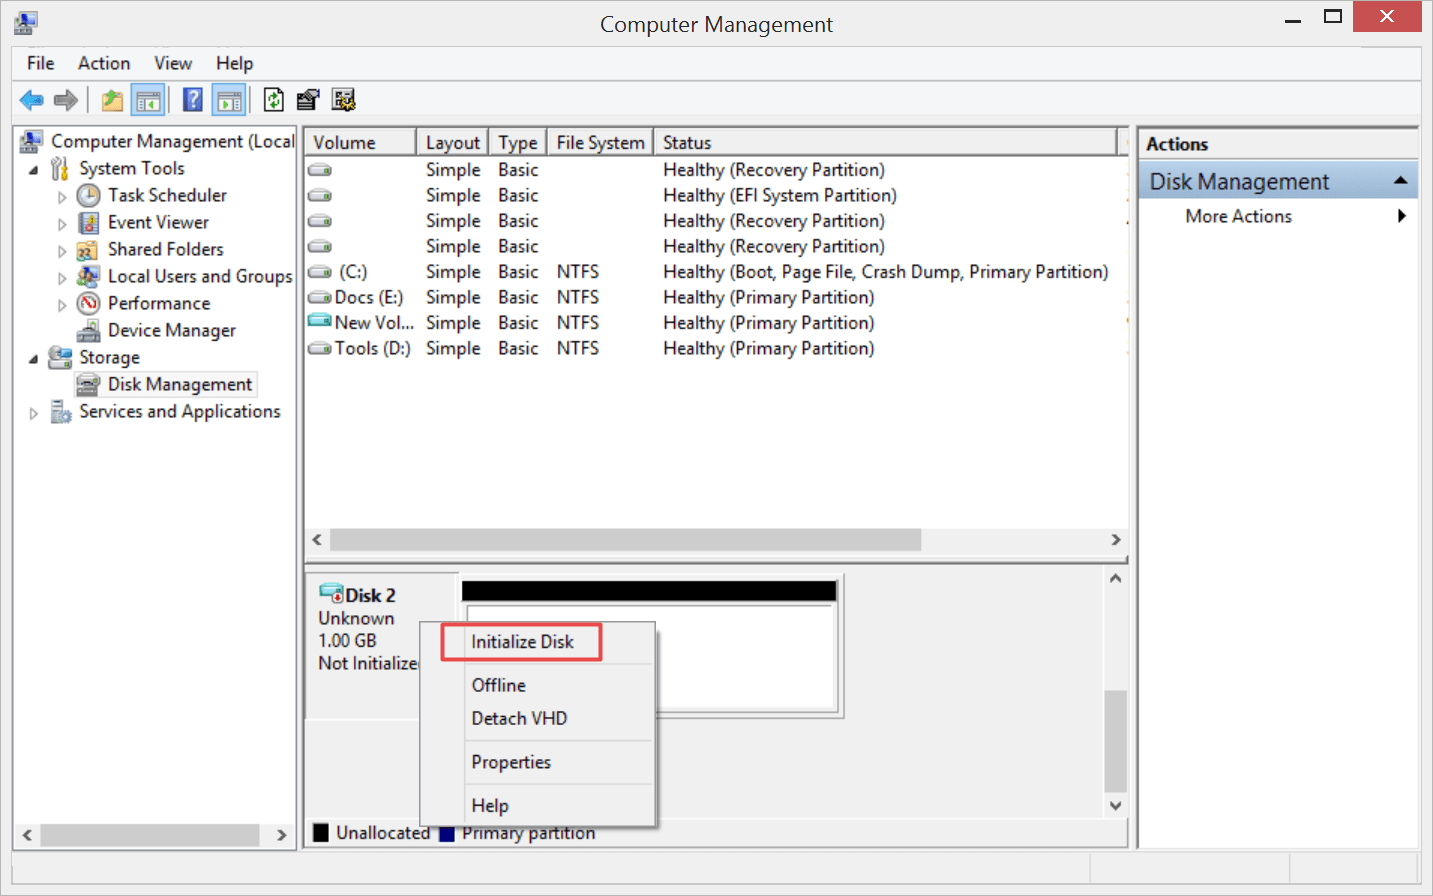
To initialize your disk, tick the box next to your SSD and select a partition style. We recommend that you choose GPT (GUID Partition Table) since this is the more updated partition style, and it is recognized by all versions of Windows. Click OK to start the initialization.
When finishing the initialization, you can now proceed to create a new volume using Disk Management. This will finally make your SSD show up in File Explorer.
Solution 2: Assign a Drive Letter to Disk
If your disk is showing up in Device Manager, but not in the This PC folder in File Explorer, the problem could be that your SSD doesn’t have a drive letter yet. There are two ways you can assign a drive letter.
The first thing you can do is to go to File Explorer and click This PC. On the top part of the window, you will see the Map network drive option with a hard drive icon.
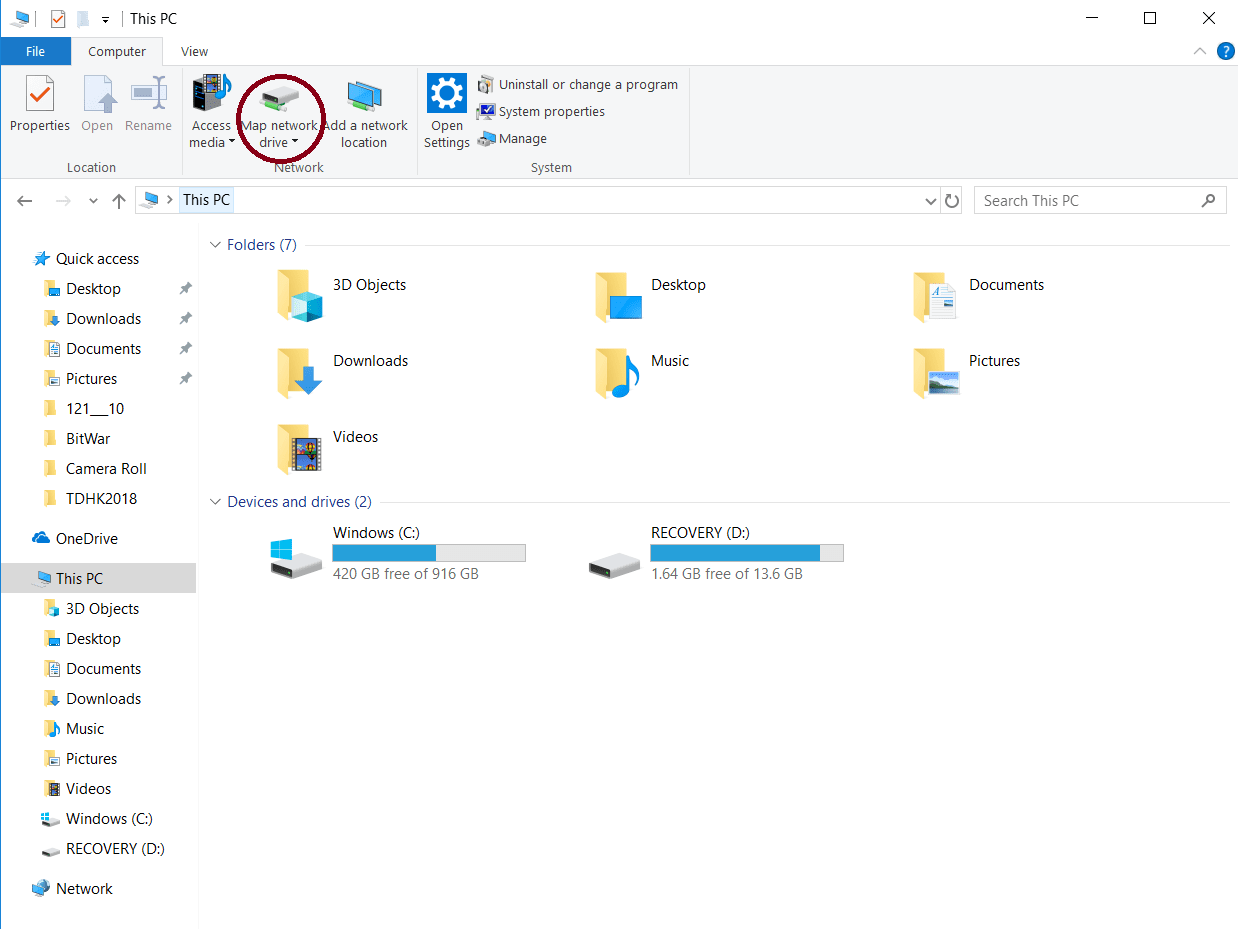
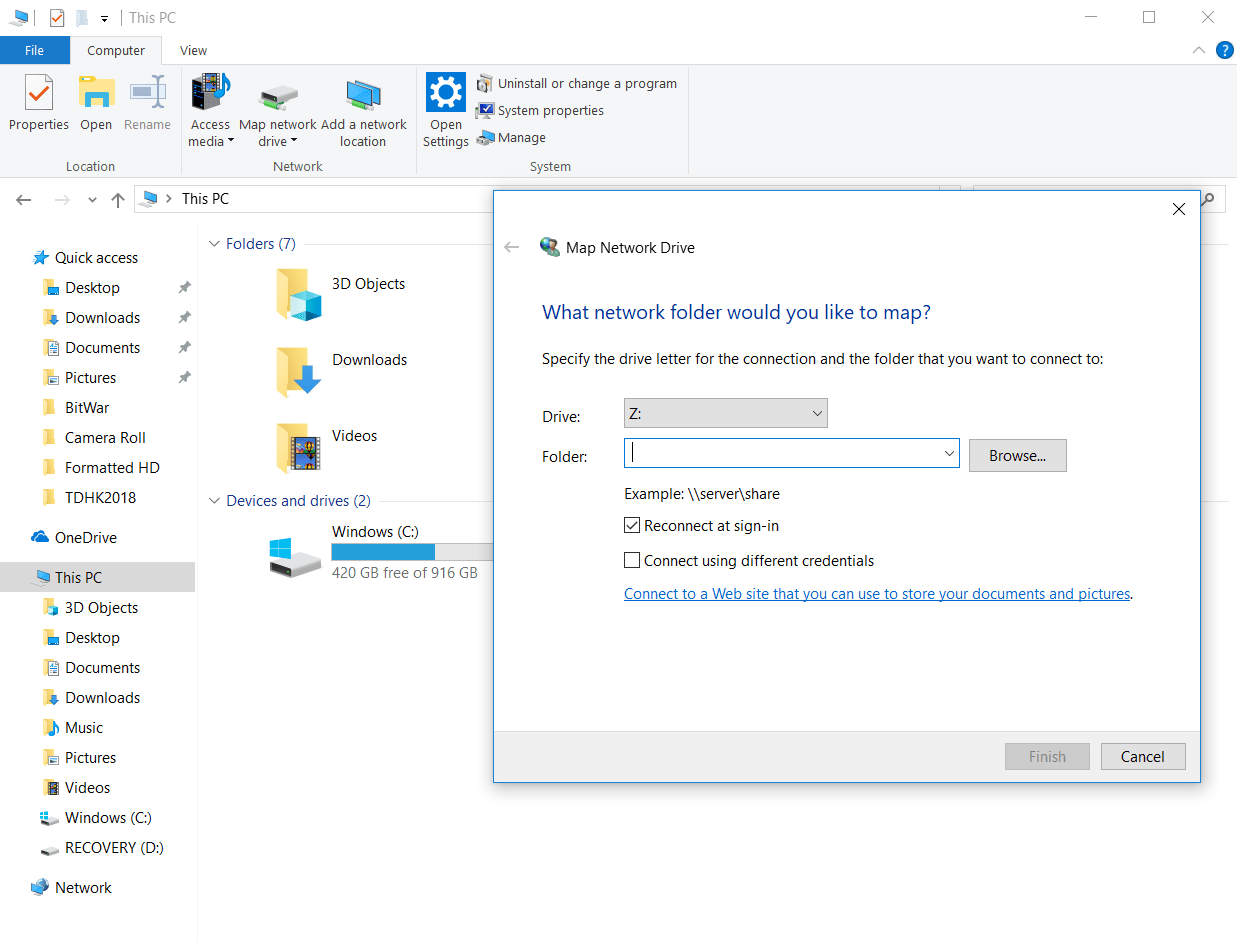
Click that, select a drive letter that is not being used at the moment, then find your SSD through the Browse option. Then click Finish and restart your computer. Your SSD should appear in Windows Explorer after that.
Another way to do this is to go back to Computer Management (Right-click on This PC, then click Manage). If you click Disk Management, you will see to the right a list of all the hard drives present on your computer. Select your SSD (it will be the one that doesn’t have a letter) and right-click. Click Change Drive Letter and Paths among the options.
Next, click Add on the window that shows up and chooses a drive letter on the list. When everything is done, click OK. Your SSD should be up and running.
Solution 3: Format Your Hard Drive to Fix SSD Not Showing Up
If the previous solutions do not work, the problem might be a compatibility issue between your SSD and the computer. There are different formats that a storage drive can have. And there are only a number of specific formats that can be read by certain operating systems.
What you need to know and always remember when about formatting storage drives is that it deletes all of the files in the drive. If your SSD is newly purchased, then formatting it won’t affect anything. But if you have files in it, you might need to backup or restore any files that are in the drive.
Solutions 4: Recover Data before Performing Format
Now, backing up the files from a drive that is not showing up in File Explorer is tricky. It’s not showing up in the first place! Fortunately, you can use data recovery software to retrieve your files.
One of the best programs that you can use to do this is Bitwar Data Recovery. You can use it for free, and the data recovery process only takes 3 simple steps. Here’s how you can recover your files before formatting.
Steps to Recover Data from Inaccessible SSD
Step 1. You will need to download and install Bitwar Data Recovery for Windows 7, 8, 10, or Mac. Once you have created a free account, you can get started on the three-step process to recover the data in your disk.
Download for PC Download for Mac
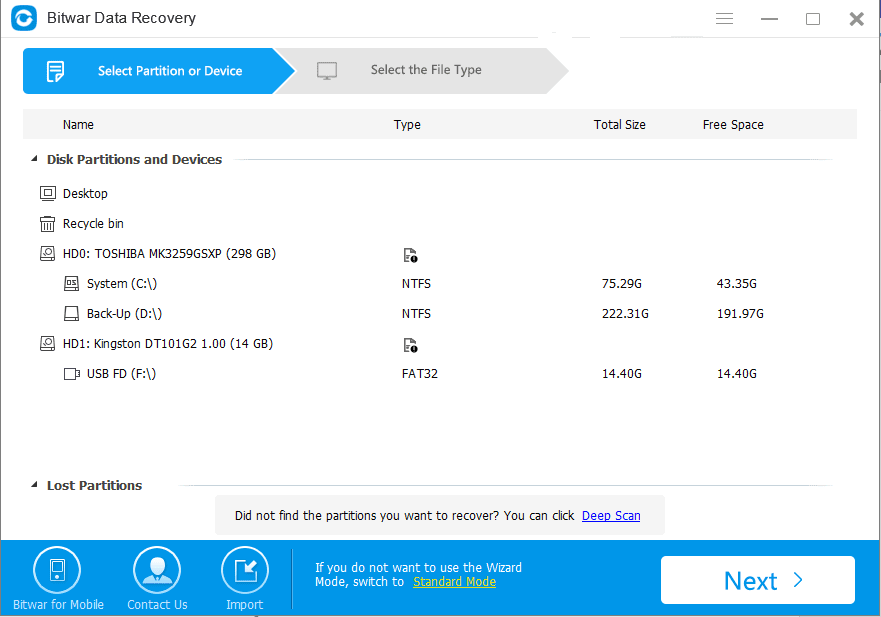
Step 2. Select the partition or device. You are able to see the list of drives present on your computer after launching the software. Select the one with your SSD in it, and then click Next.
Step 3. Choose Scan Mode 1 and go next.
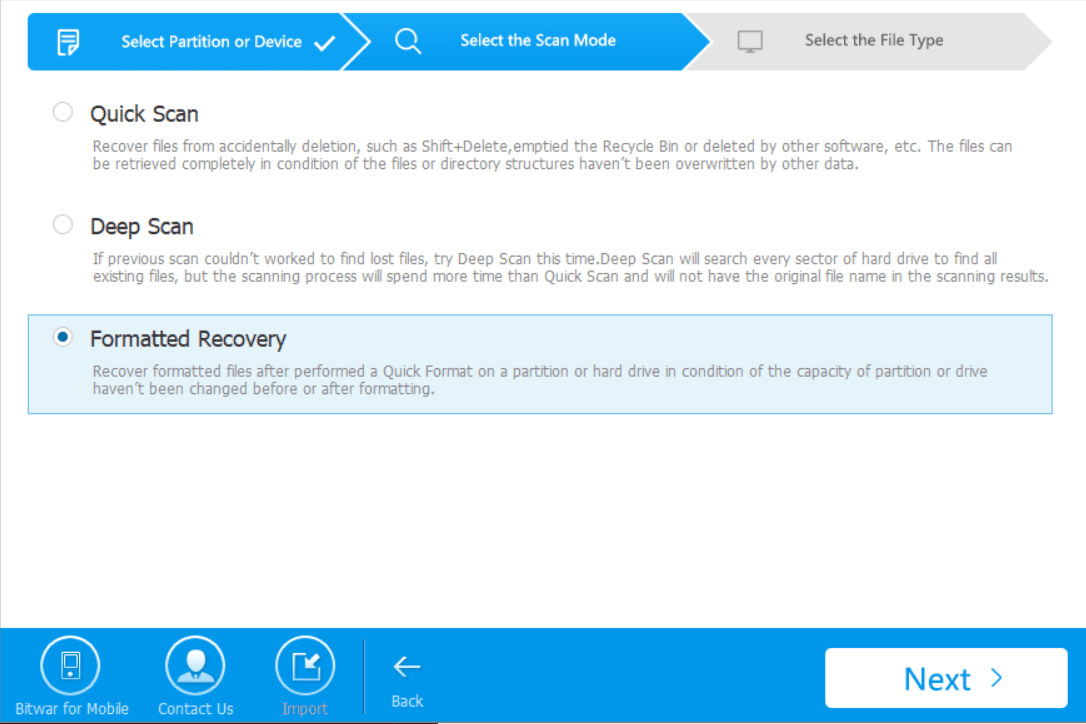
Once you have picked which scan mode you are going to use, click Next to proceed to the next step.
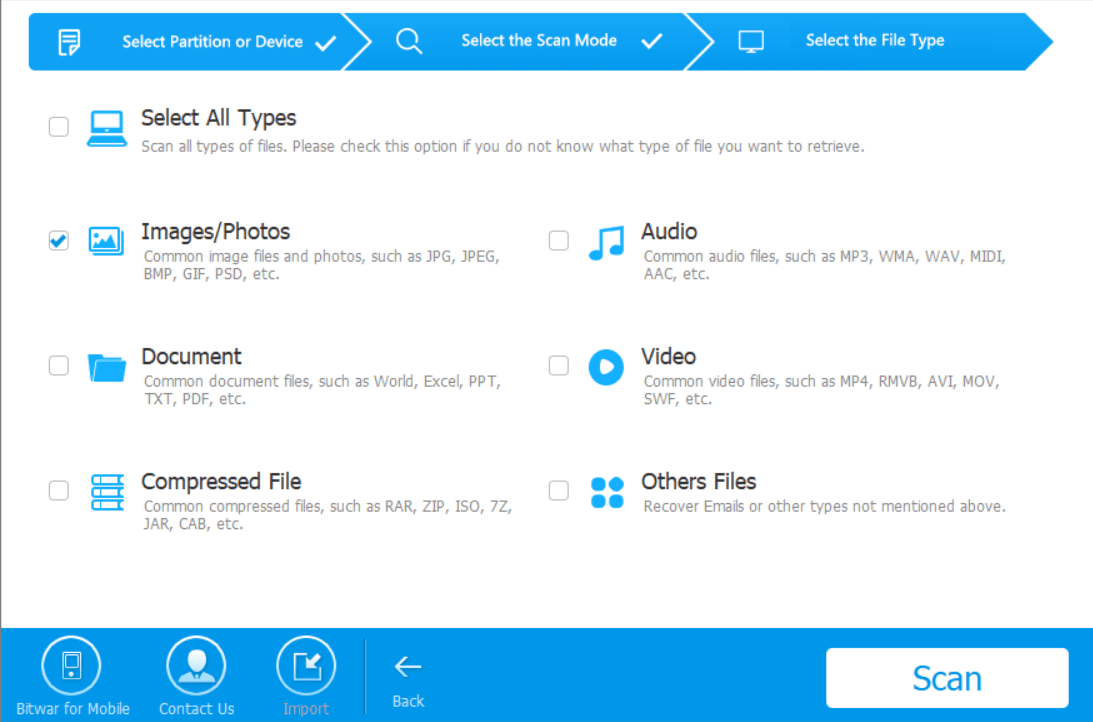
Step 4. The third step is to narrow down your results by selecting the file type. You can select which file types you want to recover. Or you can simply select all file types if you want to cover all. Click Scan to recover your files.
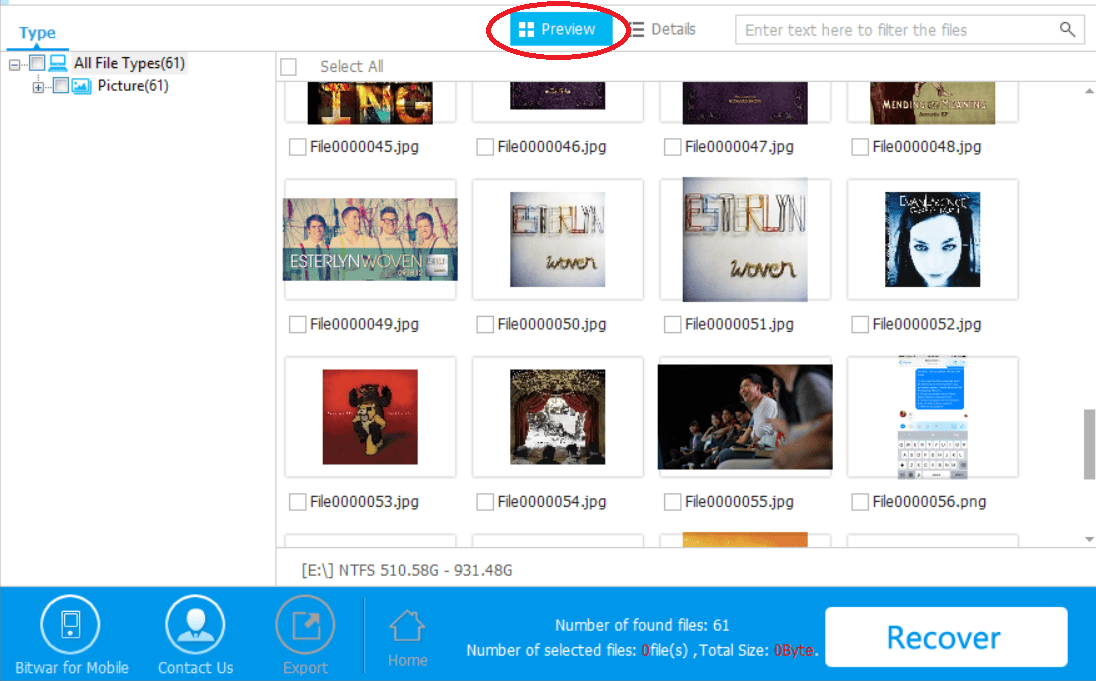
Step 5. Preview the lost data as you want. This is a good way for you to check if your file is still in good condition or not. If it is, you can simply click Recover and set the save destination folder for your file.
After you have recovered your files, you can go back to the Map network drive option, reassign a drive letter to your SSD, and you and find the option to format your drive. Take this option and set your disk to a format compatible with Windows. You can choose FAT32 and NTFS Format for this.
Conclusion
At times, when you find that SSD not showing up no matter on Windows 7, 8, 10, or Mac, don’t panic, there are still have solutions for you to fix the error.
And what if there are having vital data on it, just try to use the third-party data recovery software to retrieve the data first and then figure out that formatting or assign the new drive letter on your SSD whether can fix the error.
Further Information for Reading
Differences Between the 3 Scan Modes:
What you would need to first go for is the Quick Scan. This is the fastest way you can retrieve files from an SSD not showing up on File Explorer. This will also recover your files in their current state–with their respective filenames, latest versions, etc.
If Quick Scan does not retrieve all the files that you want, though, you can opt for the Deep Scan. This will browse the deep sectors of your drive that the Quick Scan can’t reach. This scan provides more results and really takes its time scanning your drive for files. Although the downside for this scan mode is that the files recovered will be in generic filenames.
The other scan mode available for Bitwar Data Recovery would be Formatted Recovery. This the scan mode designed for recovering files after formatting your drive. If you need to recover files even after you have formatted your drive, this is the scan mode that you need.