

Summary: In this article you will find the best way to convert RAW file system to NTFS and recover the data using the Best Raw Hard Drive Recovery Software. These methods are practical on Windows 10, 8, 7, Vista and XP.
Sometimes the partitions on your hard drive or even external storage devices or SD memory cards turn into a RAW partition, you will see the drive is showing as 0 bytes if you right-click and hit on the Properties. It is a very common issue that prevents you from accessing the drive you need.
The most common solution to Convert RAW file system to NTFS is the formatting of the said partition, but it will also erase all the data stored inside that partition.
Luckily, if you haven’t processed the formatting on your RAW partition, you can still have the big chance to get almost all of the data back with the best Raw hard drive data recovery. Alternatively, you don’t need to be worried as the software can also recover data after formatting.
If you happened to have the storage drive turned to RAW, you can do a quick check with below 2 situations and retrieve the data as soon as you can.
Table of Contents
Situation 1: Recovering Data from Unformatted Raw Disk
Bitwar Data Recovery Software is capable of recognizing the original file system from RAW partition/drive, e.g., if your drive’s file system used to be NTFS, then you can see the type of the drive shows as RAW_NTFS in the device list in our software.
The advantage of this feature allows you to scan the RAW drive with Quick Scan mode, and as you might have known from our previous tutorials, Quick Scan mode can offer original file name, file path, folder structure and last modification time, which means, you can easily locate the lost data in a few minutes.
Steps to scan the RAW drive directly without formatting:
Download for PC Download for Mac
Step 1. Install and Launch Bitwar Data Recovery.
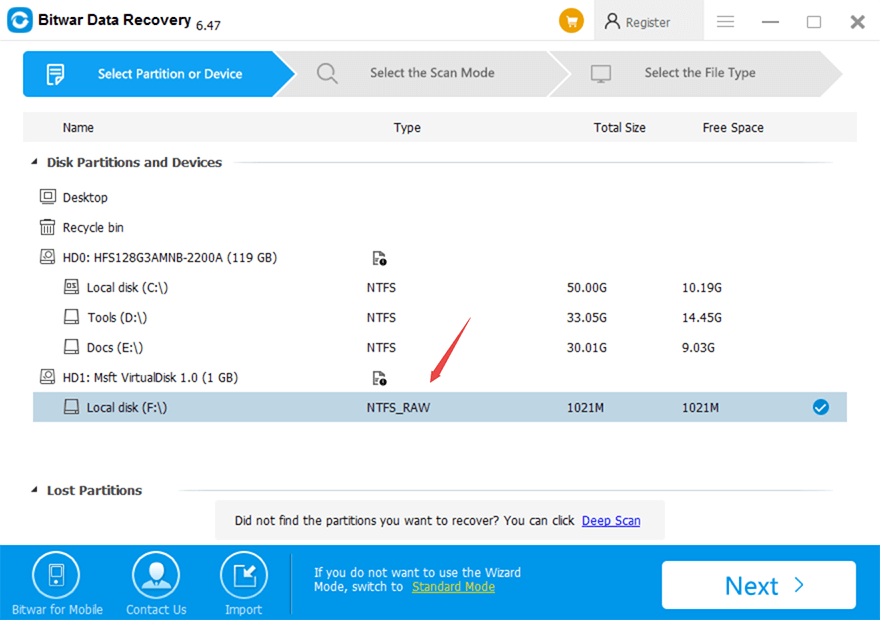
Step 2. Select the NTFS_RAW drive and click Next.
Step 3. Choose the Quick Scan and select the file types you want to retrieve.
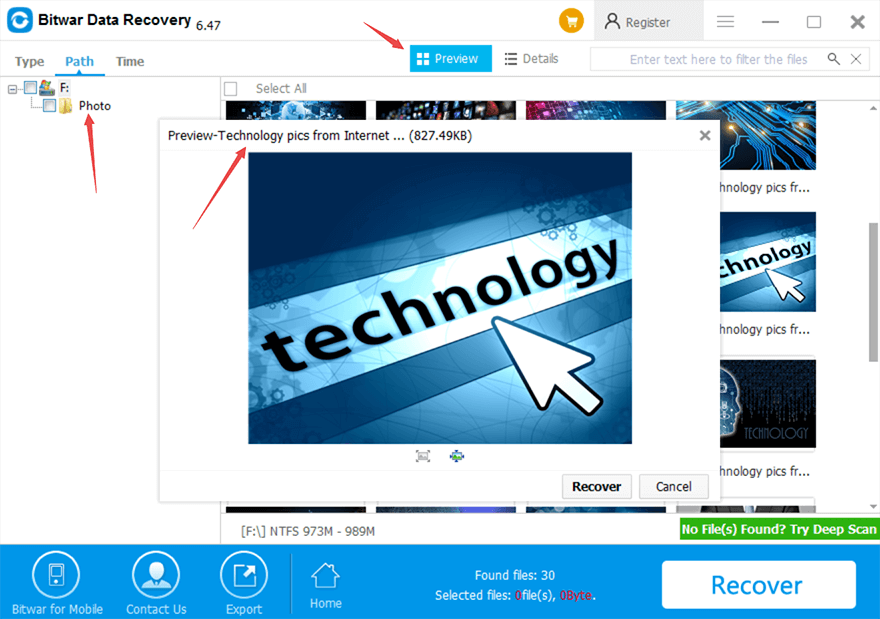
Step 4. Scan and preview the results.
Step 5. Finally, select the needed files and hit on the Recover button.
Situation 2: I accidentally formatted the RAW disk, will I lose everything on it?
If you have already formatted the RAW disk, before going through the steps to recover data using Bitwar Data Recovery, you’ll need to make sure that you didn’t format the RAW drive using full format (uncheck the Quick Format option) because full format will lose your data forever!

Sometimes, you may receive such prompt that alerting you to format the disk before you can use it, if you clicked on the format button, then it’s also a Quick Format to erase the data from RAW drive, still, follow below steps to get back the data.
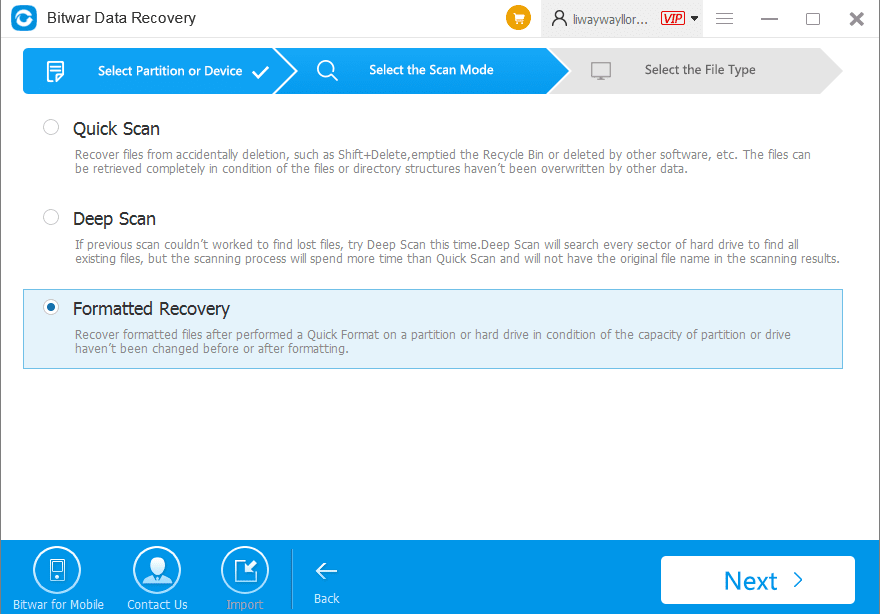
Steps to recover formatted data after performing Quick Format on RAW drive
Launch the software and then select the formatted drive > Choose Formatted Recovery > Check the file types you need to recover > Start to scan and preview the data you need > Hit on the Recover button.
After restoring all of the data you want, it’s time to convert the RAW file system to NTFS; there are 4 methods you can follow.
Four Methods to Convert RAW file system to NTFS
Tips: Below 4 methods are optional for you to turn RAW into NTFS, choose the easier one you like. But be aware that you must back up all of the needed data before processing with the below steps, as these operations will lead to permanent data loss.
Method 1: Right-click on the RAW drive and choose Format
This is the most common format feature that everyone can use it all the time. Just right-click on the drive/partition, and then choose Format from the pop-up menu, followed by clicking the Start button and leaving the settings as default.
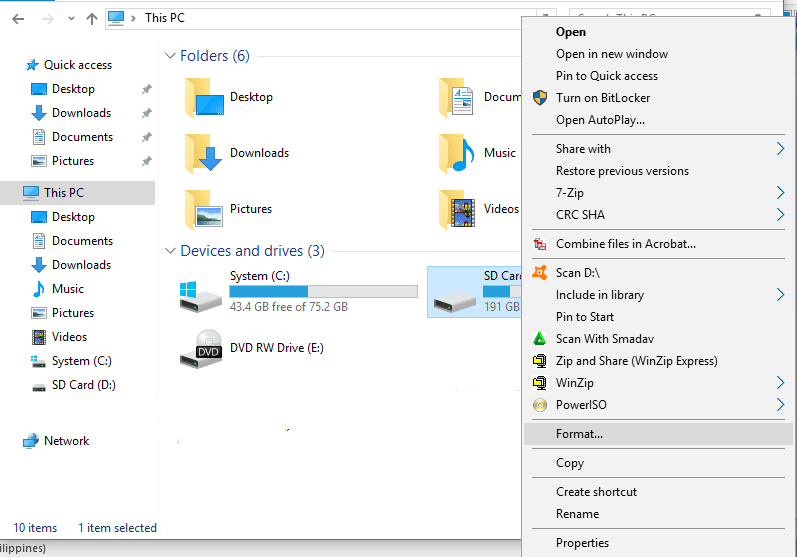
You can see the drive/partition turns to NTFS and now it’s accessible.
However, if you couldn’t find the drive in My computer/This PC, you should go to Disk Management and then format the disk.
Method 2: Convert RAW file system into NTFS using Disk Management
Step 1: Press Win logo key + R at the same time and then type Diskmgmt.msc in the dialogue box.
Step2: After opening the Disk Management, look for the RAW drive and then right-click on it. Choose Format.
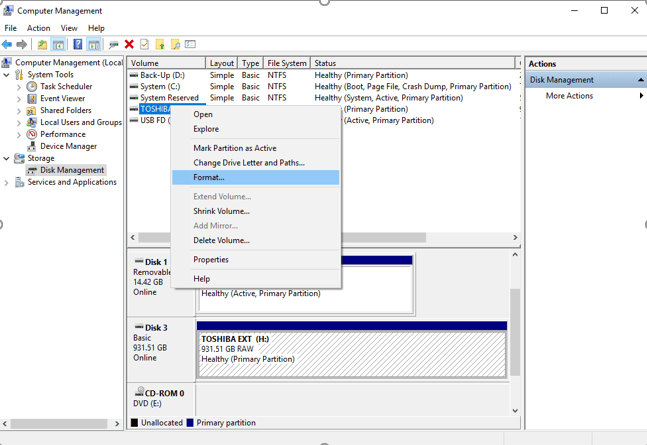
Step 3: Follow the tips on the window and then finish the formatting.
Method 3: Convert RAW Drive into NTFS using CMD- Without Formatting
The CMD program is closely integrated with Windows Operating Systems and it is quite useful in fixing several Windows issues. So, you can also use it to convert RAW file system to NTFS. The procedure is very simple, follow the steps below;
Step1: Open your computer, go to Start and type CMD and hit Enter.
Step2: Then, make a right-click on CMD and select Run As Administrator.
Step3: Finally, type convert H: /fs:ntfs and hit Enter. Here, H signifies the drive; so, will be changed according to the name of your RAW partition.
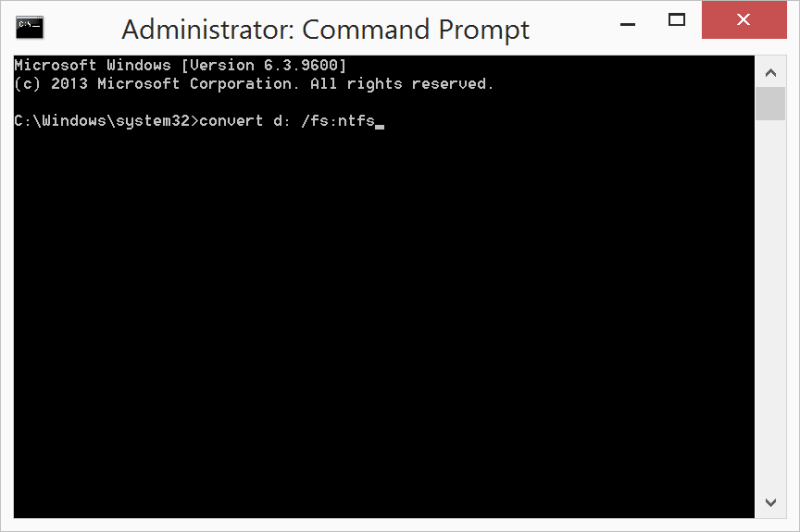
After this, the RAW partition will be changed into NTFS and the files stored inside it will be accessible again.
Method 4: Use Error Checking Tool
We come to accept that the storage drive is easy to be corrupted for no reasons, however, there’s still a clue that we can easily trace, one of these reasons should be logical error, whenever the error occurred, the drive turned to RAW, to fix this logical error, we’ll need to run Error-checking Tool to fix the RAW format drive.
You can follow with these steps to run the check tool:
Step1: Right-click on the drive/partition and then choose Properties.
Step2: Switch to the Tools tab.
Step3: Click on Check button.
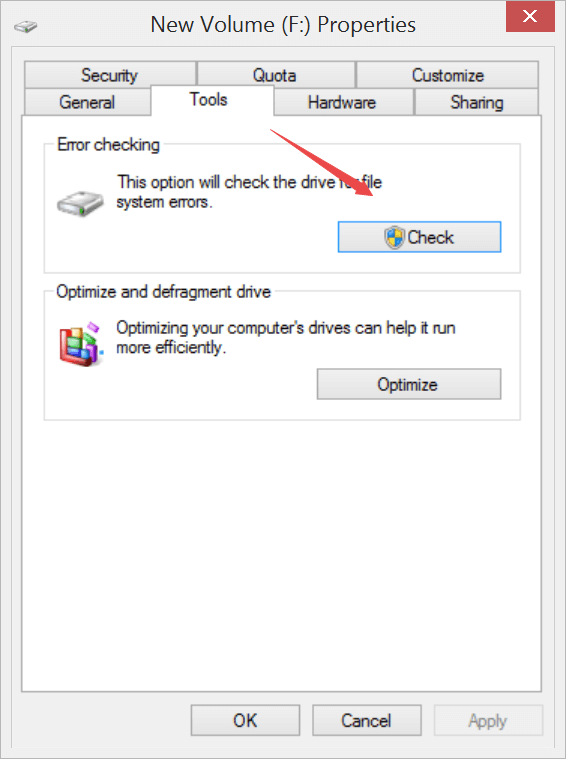
You should be able to access the RAW drive/partition/disk after error checking.
Conclusion
Finally, all there is to say it that, you can use the alternative methods to convert RAW file system to NTFS, but formatting will always be the most straightforward option. However, we recommend you not to do so, as Bitwar Data Recovery Software supports you to recognize the RAW drive, which you are using to scan the data from Raw drive and then retrieve the data with the original file name, folder structure, and file size.
Then, it’s a good chance to download the software and use it to get back the needed data immediately. After getting back of your data, you can follow above-mentioned methods to convert RAW file system to NTFS. Good Luck.
Read More
- 3 Ways to Fix ‘CHKDSK is not available for RAW Drives’ Error
- 9 Effective Solutions to Fix ‘Toshiba External Hard Drive Not Working’ Error
- 10 Methods of How to fix SD Card Not Reading Error
- How to Remove the Virus Using CMD Without Worrying Data Loss?
- How to Fix ‘Hard Drive Only Shows Half Capacity’ error


