

Summary: In this article, you will get to know the best ways to fix “Can’t Eject External Hard Drive on Windows 10” error with the best data recovery software – Bitwar Data Recovery Software.
After using an external hard drive, it is essential to remove it safely to ensure the data inside is safe and not corrupt. So you have to click on ‘Safely Remove Hardware and Eject Media’ to perform safe device removal.
Unfortunately, if you are getting “Can’t Eject External Hard Drive on Windows 10” while removing the hard drive, then there must be some issues within the hardware that you need to solve immediately!
Table of Contents
What Happens if External Hard Drive is Unable to Remove an External Hard Drive Safely?
The safe removal option to eject an external hard drive happened due to data safety reasons. When you remove an external drive safely, it means that you have successfully stopped all the active processes running via or from the external device. This protects the data on the external hard drive as well on the internal.
So, if you can’t eject the external hard drive on Windows 10, you will be forced to remove the device, which could lead to data corruption or file disappearance. Of course, you wouldn’t want data on your external hard drive to get corrupted, so please remember to remove any external device from the computer safely.
But things would be difficult if you are getting a “Can’t Eject External Hard Drive on Windows 10” error on your computer. In this case, you have to fix the error first, and you be able to remove any connected hardware from your PC safely.
Don’t miss it: 4 Effective Solutions to Fix “Hard Drive Not Showing Up” Issue
4 Solutions to Solve “Can’t Eject External Hard Drive on Windows 10” Error
There are multiple effective solutions to fixing the “Can’t Eject External Hard Drive on Windows 10” error. Check out the solutions below to solve it as quickly as possible!
Solution 1: Restart Your PC
If you are having trouble ejecting external drives on your PC, reboot it immediately. It is the first necessary step to fix this issue. Reboot pc will close all the processes running from the external hard drive. After rebooting, try to eject the hard drive again.
Solution 2: Run Windows Hardware and Devices Troubleshooter
If the issue occurs due to hardware issues, then the reboot system won’t fix it. Try to use hardware and devices troubleshooter to set the “Can’t Eject External Hard Drive on Windows 10” error.
It is a built-in troubleshooting program on Windows capable of issues with hay connected hardware. Check out the steps below:
Step 1: Go to the Search menu and type in the command below:
msdt.exe -id DeviceDiagnostic.
Step 2: Hit Enter and choose Next to start the troubleshooter.
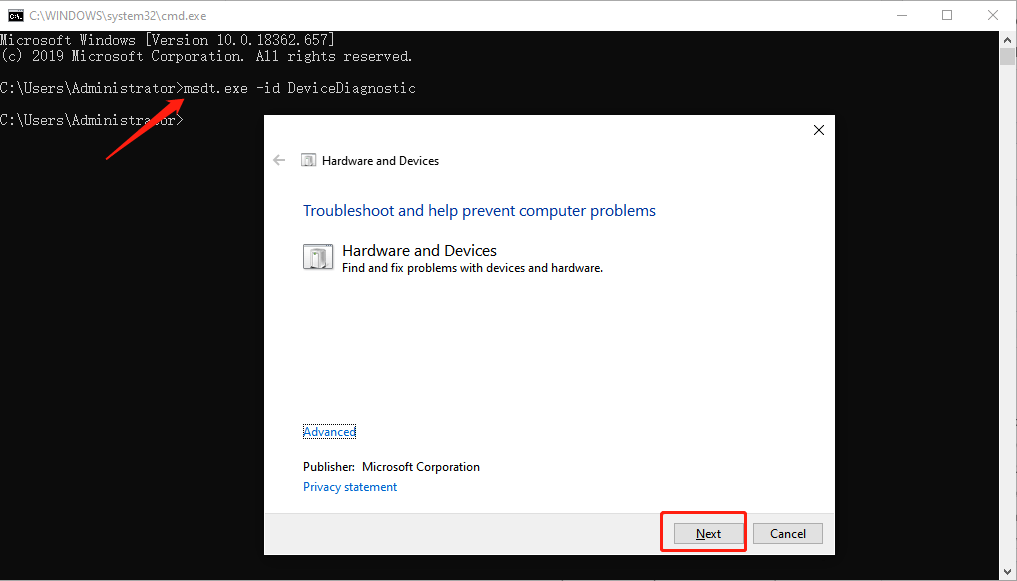
After hitting the button, Windows will automatically locate and troubleshoot any problems with the connected hardware.
Solution 3: Update USB Drivers
Make sure the USB drivers are always up to date to prevent any technical issues. Therefore, follow the steps below to update USB drivers:
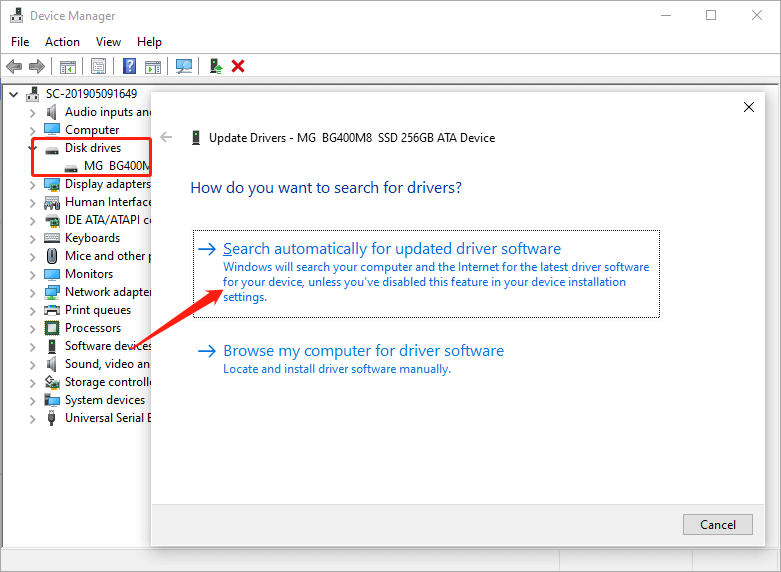
Step 1: Open the Quick Access menu on Windows 10 by pressing Wins + X simultaneously. Select Device Manager from the list.
Step 2: In the Device Manager panel, click on Universal Serial Bus Controllers to expand it.
Step 3: Right-click on the USB device and select the Update Driver option.
Step 4: From the options, click Search Automatically for Updated Driver Software, and the system will start looking for the latest version of the USB driver immediately.
Solution 4: Task Manager
Since you have no idea which programs are running and blocking the external hard drive’s removal, you can use Task Manager to view and ultimately close applications that are affecting the “Can’t Eject External Hard Drive on Windows 10” error.
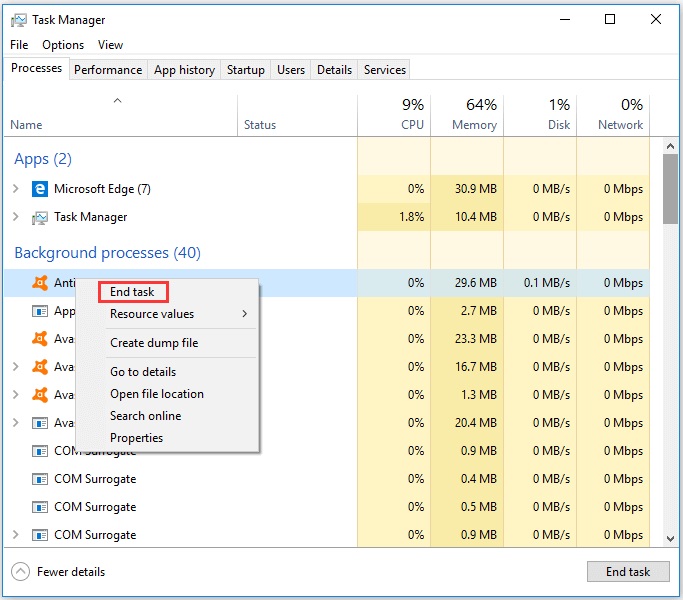
Step 1: Press ALT + CTRL + DEL on the keyboard together and choose Task Manager.
Step 2: Suppose that you cannot see the details of the running processes, click on More Detail, and click on the Process tab.
Step 3: Click on any process that may have been interfering with removing the external hard drive and clicking on End Task.
Hard Drive Data Recovery Software
Just in case data is lost on your external drive due to the “Can’t Eject External Hard Drive on Windows 10” error, the best way is to recover it back. Sometimes, this issue may happen due to the failure of the external hard drives’ safe ejection and end up losing files before even trying to fix it.
It is an unfortunate incident on Windows, but don’t panic as you can use hard drive data recovery software to restore lost files immediately. Bitwar Data Recovery Software is easy to use, and it is 100% safe. The recovery operation is also simple and straight forward.
Follow the steps below to recover data from the hard drive:
Step 1: Download and Install Bitwar on your computer.
Step 2: Launch the program and select the External drive.
Step 3: Choose the Quick Scan and click Next to proceed.
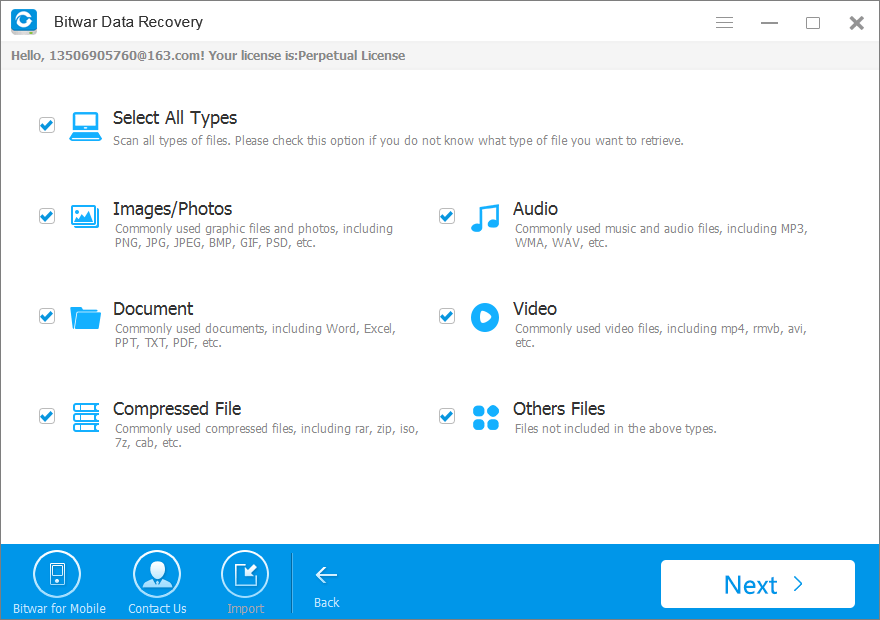
Step 4: Click on Select All Types and Next to start the scan.
Step 5: Go Preview and Select the file and click Recover.
Take Note: Remember DO NOT SAVE the recovered data to the original hard drive to prevent data overwritten.
Solve It Now!
Therefore, the “Can’t Eject External Hard Drive on Windows 10” error makes users incapable of safely removing the external device, but it can be fixed easily using the solutions above.
Suppose that any files or data is lost due to the error; just use Bitwar Data Recovery Software to recover lost data from the hard drive to prevent permanent data loss.
Read More
- 5 Effective Methods to Resolve the “Internal Hard Drive Recognized as Removable” Issue on Windows 10
- 9 Effective Solutions to Fix “Toshiba External Hard Drive Not Working” Error
- Full Guide of Fixing “Seagate External Hard Drive Not Responding”
- 4 Ways to Fix “The disk structure is corrupted and unreadable.”
- How to Fix “Drive is not Accessible, the Parameter is Incorrect” Error


